|
Header Graphic
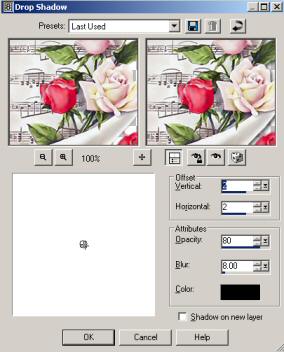
Open up the tube music and roses from your supplies. I
resized mine 125% and then went to adjust and sharpen. Add
a drop shadow using these settings:
Open up your linentile. Add a new raster layer to your
music and rose image. Go to your Material Palette and
choose your linentile. Flood fill your layer with the
linentile. Move this layer below your music and roses
image. Merge visible. Name this top and save as a
jpg in your image folder.
Divider
Next we will make a divider. I use Dizz Divider Dings for
this. You can go to her site and download them
Here, make
your own, or find one from many places on the Internet.
Bookmark Dizz's site because she has so much to offer with
other PSP goodies like tutorials.
Open a transparent image 400X200. We can resize it
later. Open your strip background and set it both for
your foreground and background in your Material Palette. Using
your text tool set at floating, size 36, stroke width 0, and
Dizz's Divider Dings type the letter g. Click OK.
Center it in the canvas and leave it floating.
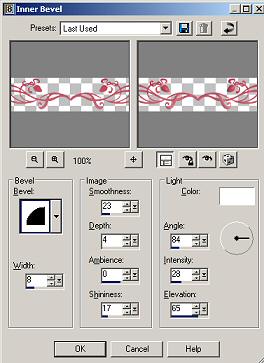
Effects>Inner Bevel with these settings:
Copy and paste as an new image. This will eliminate any
unused background. Add a new layer. Open your
linentile and set your foreground to linentile. Flood
fill your new layer with linentile. Move it below. your
divider image. Merge visible. Name it divider and
save it as a jpg in your image folder. This is what I came up
with:

Guestbook
We
are going to make something simple. Open a transparent
image 300X200.. We can downsize later.
Use
the following settings and the same will apply for future text
in this lesson except for the size you want your text to be.
Size will vary depending on the font you use. You can
also adjust the stroke width to your liking.

Using your strip image for your pattern, type "Guestbook".
I am using Black Chancery but you can use whatever font you
wish. Then add a new layer and type "View" and "Sign" in
a smaller size below Guestbook. Merge Visible. You
can add other effects like inner bevel if you wish. Just
make sure you do the same with all your buttons and header.
I didn't do that for this tutorial but you can be as creative
as you want to be. Add the same drop shadow as with the
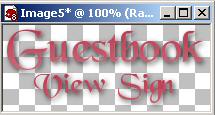
header. Copy and paste as a new image. It should
look something like this:
Add
a new raster layer. Flood fill with your linentile.
Move that layer below your text image. Merge Visible.
Save it as guestbook as a jpg in you image folder.

Now
we are going to split the image. This is a good technique when
you want to have two or more pieces of a graphic that look like they
are in one piece. You can direct your visitors to
different URL's this way. It is also good if you have a large
graphic and want to divide it for quicker loading time.
The larger the graphic, the more time it takes to load.
You can even split a graphic and make one side a jpg and one
side an animated gif. But that's another lesson.
Go
to Export>Image Slicer. You will get a screen that looks
like this.
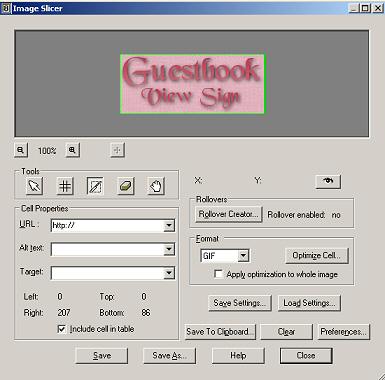
Click on the little knife. Hover about half way on your
image and click. You should see it turn one side
with a green box around it. It you don't click clear and
try again.

See
where it says format? Change that to jpeg and go to save
as. Find your "image" folder and save this as viewguestbook. Now go back and click the arrow under Tools or
you will end up slicing your image again and you don't want to
do that. Now click over the word sign.
Now
the green box is around the last half of your image.
Again change format to JPEG and this time save as sign
guestbook in your image folder.
Go
to your image folder. You will see images there with
numbers. We are going to delete a couple and rename the
other two.

Delete the gif one, signguestbook, and viewguestbook.
You don't need those. Now with the Image5_1x1 left click
and rename it view. With the Image5_1x2 rename it sign.
Here they are separated and then I put them together.
Note: Your file names may be different. For
instance you may have Image2_1x1 instead of Image5_1x1
depending what they were when you worked on them in PSP.


Buttons and Title
Basically we are going to use the same technique for our
buttons and our title as we did for our Guestbook. Open a new
transparent. Size 200X200. We can resize later.
I am only going to make 3 buttons but you can make as many as
you need. Also, keep in mind you can make buttons and guestbooks with tubes and text and add your background.
We are doing it this way to keep it simple.
Now
type in your text. Apply the drop shadow. Copy and
paste as a new image.
Add
a new Raster layer, flood fill with your linentile.
Merge visible. Save your button as whatever the name of
your button is as a jpg in your image folder. I saved
this one as home.jpg.
My
Welcome Image is below also.


Now
the moment we all have been waiting for. We are actually
going to put this all on Front Page and Upload it to our
server. So catch your breath and let's get going.
FRONT PAGE LESSON 1
|