Beginner's Poser Tutorial Page 2
WARNING: CONTAINS SOME NUDITY In This Tutorial!
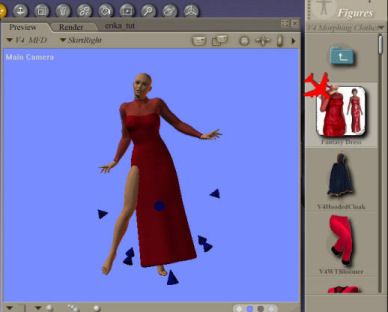
| OK, Remember how we left Meryl? Leg sticking
out, no shoes but at least she has some clothes on.
Image 10b
12. Those little nodes have a purpose. We are going to grab that one on her right side and pull her skirt out. You can experiment with the others too if you like. If you make a mistake, just go to Edit and undo. You can also use the ready set morphs. Adjust them with the Parameters Dials. Make sure you preview is set to Victoria 4 and Body. That's what I used in the header image at the top of this page.
Image 11
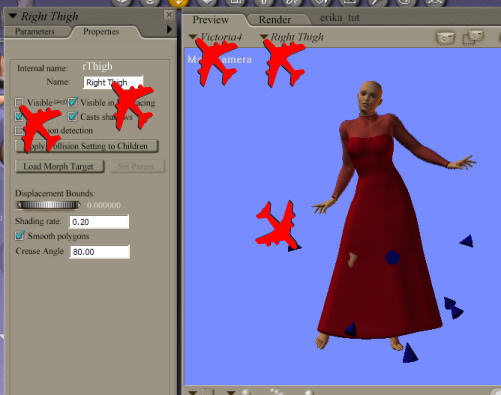
13. Well, now Meryl's leg is still poking through. The girl just has to expose herself. We can fix that. First you want to make sure your Perimeter/Properties are in view. If not, go to Object and check Properties. Make sure in Preview, Victoria 4 and Right Thigh are in view. Just click on her right thigh and it will show up in Properties. Now uncheck Visible. There is still a little leg left after this, so click on the skin that is showing and it should change to Right Shin. Uncheck Visible again. Now you should have her skirt with no leg poking through.
Image 12
HAVE YOU SAVED YOUR WORK LATELY?
14. Now let's add some shoes. There are some little red slippers a little further down so find those and double click. Go to Figure and Conform To Victoria 4. If her toes stick out, do the same as you did with her leg. Make sure you are on Victoria 4, click her toes, and uncheck Visible.
15. Let's dress her up now. Go to Pose in your Library and find V4 Morphing Clothes. Make sure in Preview you are set on V4 MFD and Body. There are many choices so pick one you like. I chose blue. The same with the shoes which are a little further down. We will change the color next for the shoes. Make sure you on the shoes in Preview which would be Figure 1.
Image13
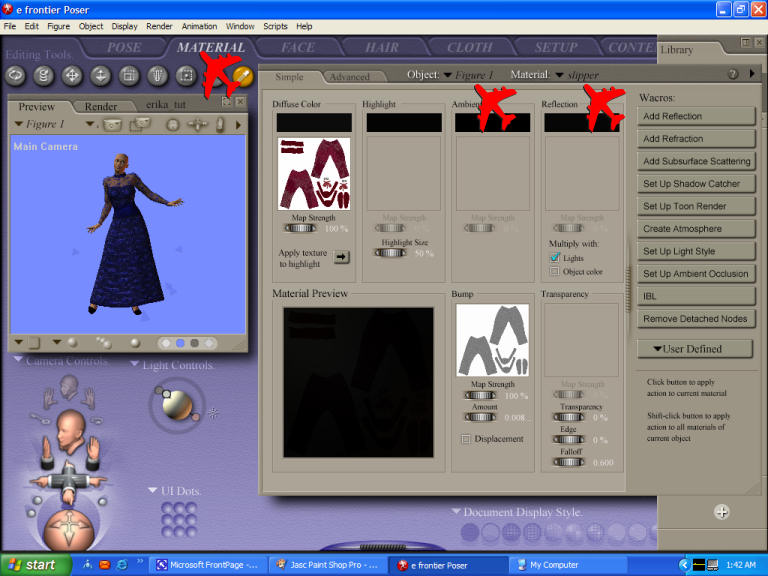
16. To change the color of the shoes, click on Material beside Pose at the top. Make sure you are on the slippers which is Figure 1 in this case and make sure you are on slipper. I made all the boxes blue. I am not that learned in this area but I know I didn't want red shoes with the blue dress.
THIS WOULD BE A GOOD TIME TO SAVE YOUR WORK!
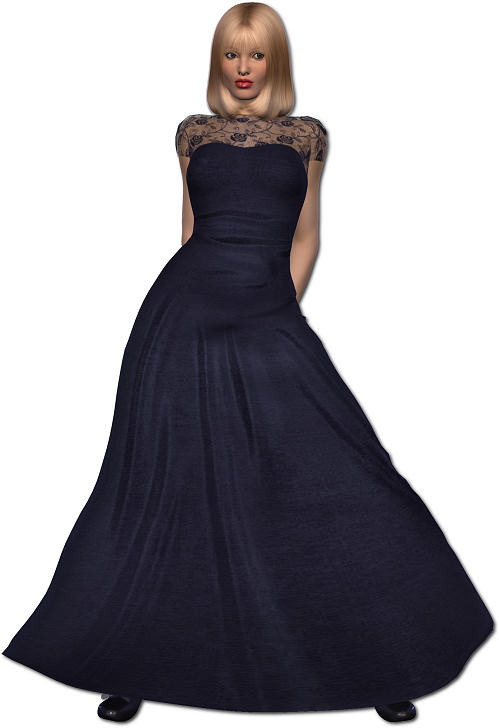
17. The hair shown is not Diva Hair. The instructions are the same for Diva. Diva Hair is the example at the top of this page. You can go back to Pose at the top again. We are going to give Meryl some hair. Go to your Library>Figures> V4 Hair. Double click Diva Hair V4. Go to Figure in your task bar at the top and Comform to Victoria 4. I know it looks horrible but trust me, it gets better. It won't be until you render her, that it will look real.
Image 15
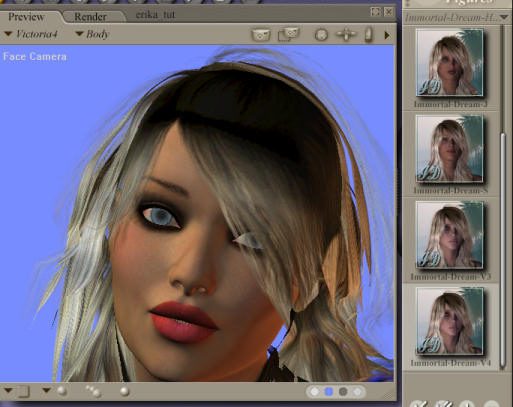
18. Go to Pose in your library. Find MAT Diva Hair. Choose a color you like and double click. If you scroll down after the colors, there will be all kinds of styles you can use or you can use the morph dials in your Properties. Put the Preview on Victoria 4 and Neck.
SAVE YOUR WORK!
19. I am not good with lighting. It is a matter of trial and error for me-mostly error. RDNA has some free lights or use the ones that come with Poser. To get rid of the shadow to make tubes, make sure in Preview your have Victora 4 and Lights showing. In Properties uncheck shadow.
20. I set my document window to 1000X768. Window>Window Document Settings. To set your Render Dimensions go to Render>Render Dimensions. Check Render To Exact Resolution. I put mine at 2000X2041-300. This may be too big or too small for you. You have to decide the size of your render. I like mine on the large size and I can adjust size in PSP later as needed. Good Render Settings are in the image below. Go to Render>Render Settings. You save this setting by clicking Save Preset. Make sure you have Use displacement maps checked for texture depth.
PLEASE SAVE YOUR WORK NOW!
21. Now go up there in the task bar and click Render>Render. Come on now! Don't be afraid. Plan on cleaning your whole house while this thing renders. After it is finished, go to File>Export>Image and it will save as a png.
This is the end of my first Poser Tut. It is sort of like the blind leading the blind. It's some of my limited knowledge working with Poser. Hope it helps and doesn't confuse anyone. If it had not been for my friend Susi, I would still be torturing Simon. LOL Hugs, Annie
Tutorial By Annie of Yummie Designs (aka singanpray or singanprayisme) Revised July 20, 2010
|